
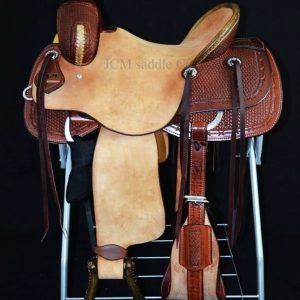
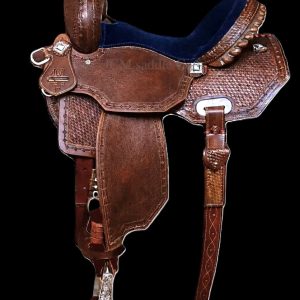
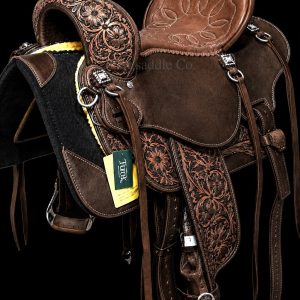
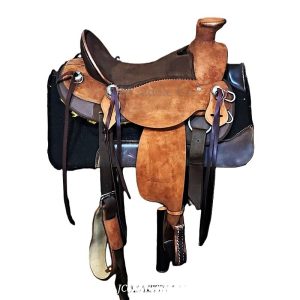
A quick tack inspection before every ride can catch damaged equipment before it becomes a problem. You do not need special tools to start: good light, your hands, and a consistent routine will reveal many signs of wear. Give extra attention to the parts that carry tension or keep you connected to the horse.
1. Check the cinch, latigo, and rigging
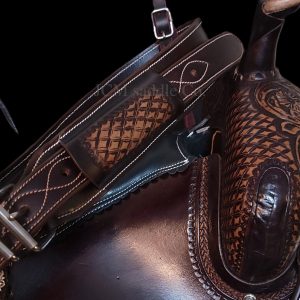
Begin with the front cinch and the latigo or other attachment straps. Look for frayed edges, cracked leather, worn stitching, stretched holes, and damaged buckles. Check that the cinch material and its rings or hardware are sound. Follow the latigo through the rigging and confirm that it is correctly routed and secured. A strap that looks severely worn or has questionable stitching should be replaced or professionally assessed before riding—not simply tightened harder.
After saddling, check the cinch again before mounting. Some horses change their posture as the saddle is first placed, leaving the cinch looser than expected after a short walk. Adjust gradually and check for comfort instead of pulling it as tight as possible.
2. Inspect stirrups, fenders, and attachments
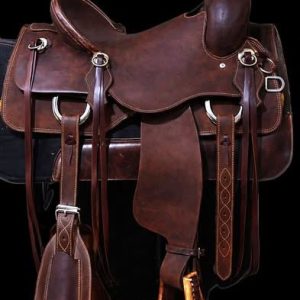
Lift each stirrup and examine the fender or stirrup leather, adjustment holes, buckles, and fastening hardware. Look on both sides, including areas that fold or rub against other parts of the saddle. Check for cracks, tears, loose rivets, missing fasteners, or unusually thin leather. Verify that both stirrups are securely attached and adjusted to a usable length. If anything appears weak, do not rely on it to support your weight until it has been repaired or replaced.
3. Check the bridle and reins
Inspect the headstall, cheekpieces, reins, and the points where straps connect to the bit. Tug gently on each connection to make sure it is secure, without testing the equipment to destruction. Look for broken stitching, enlarged buckle holes, loose Chicago screws, damaged snaps, or sharp metal edges. Confirm that the bit is clean and properly attached and that the headstall is not twisted. Bridle fit deserves a check every time, especially after disassembly for cleaning.
4. Examine the saddle pad and the horse’s back
Before placing the saddle, feel the horse’s back for unusual swelling, heat, tenderness, or rub marks. Inspect the underside of the pad for trapped debris, hard spots, uneven bunching, or damp material left from a previous ride. Position the pad smoothly and make sure it stays centered as you saddle. A clean pad does not correct an incorrectly fitting saddle, so recurring soreness, resistance to saddling, or rub marks call for a qualified saddle fitter and, when pain is suspected, a veterinarian.
5. Look over the saddle itself
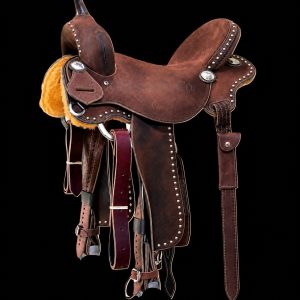
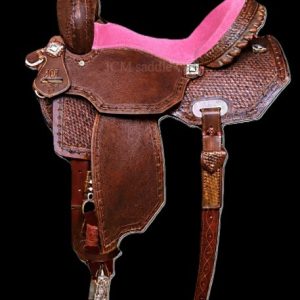
Check for loose hardware, damaged stitching, and any unusual movement or asymmetry. Inspect visible areas around the horn, swells, skirts, rigging attachments, and stirrup connections. Damage that suggests a problem with the tree or its structural attachments requires professional inspection; the outside appearance alone cannot establish that the tree is sound.
6. Recheck before you mount
With the horse safely handled, verify that the cinch is secure, the pad has not shifted, the reins and headstall are correctly arranged, and the stirrup length suits the rider. For a Western saddle equipped with a rear cinch, it should be properly fitted and secured, not dangling loosely under the horse. A rear cinch is not a substitute for a correctly adjusted front cinch.
Make the routine a habit
Use the same inspection order each time so you are less likely to miss a part. Set aside questionable tack until it is repaired or replaced. Routine checks cannot remove every riding risk, but they are a practical way to protect both horse and rider. The best time to discover a loose fastener or damaged strap is while you are still on the ground.